Deploying Astro Actions on Cloudflare
Deploying Astro Actions on Cloudflare
This article will run through the process of running Astro Actions that use Secrets or Environment Variables on Cloudflare. At the time of writing, Astro Actions was so new that there wasn’t much documentation on how to run it with environment variables from Cloudflare. I hope this article helps those that are trying to deploy their Astro Actions on Cloudflare.
Initial Setup for Astro and Cloudflare
Let’s follow along the official Cloudflare AstroJS starter guide to get a sample project up and running. I’ve modified the commands a bit to fit this article.
npm create cloudflare@latest -- astro-actions-cloudflare --framework=astro
# Choosing default for all prompts for this example, including deployment.
# You may have to link your environment to your Cloudflare account via `npx wrangler login`, if you haven't done so already.
# For existing projects, you can add the Cloudflare Pages adapter by running `npm run astro add cloudflare`.
cd astro-actions-cloudflare
I also add Shadcn/UI since I suck at vanilla CSS. Setup instructions can be found here.
npx astro add tailwind
npx astro add react
npx astro add tailwind
mkdir src/styles
touch src/styles/globals.css
Edit the src/styles/globals.css file to add TailwindCSS.
@tailwind base;
@tailwind components;
@tailwind utilities;
Add import statement to src/layouts/Layout.astro file.
---
import '../styles/globals.css';
---
To run Astro Actions, the astro.config.mjs will need to be in either ‘server’ or ‘hybrid’ mode.
import cloudflare from "@astrojs/cloudflare";
import tailwind from "@astrojs/tailwind";
import { defineConfig } from "astro/config";

import react from "@astrojs/react";

// https://astro.build/config
export default defineConfig({
  output: "server",

  adapter: cloudflare({
    platformProxy: {
      enabled: true,
    },
  }),

  integrations: [
    tailwind({
      applyBaseStyles: false,
    }),
    react(),
  ],
});
I then created a form component using v0, which you can find here.
npx shadcn@latest add "https://v0.dev/chat/b/CGmyKj4?token=eyJhbGciOiJkaXIiLCJlbmMiOiJBMjU2R0NNIn0..JYgcpryAJf2THw28.x1SMY8z8jteusb78KkJKnwNERKfn5xZydsLmLDH9nysHj69fXco.5HivkO5Z2FW0fmZeR5i94Q"
which gave a component src/components/text-generator.tsx.
To show this component, I edited src/pages/index.astro to look like below.
---
import { TextGenerator } from "@/components/text-generator";
import Layout from "../layouts/Layout.astro";
---

<Layout title="Welcome to Astro.">
  <main>
    <TextGenerator client:load />
  </main>
</Layout>
Setting Up the Astro Action to Generate Text via AI SDK from Vercel
For an interesting example for our Astro Actions, let’s add Vercel’s AI SDK, which so far has been a great experience to work with.
npm i ai
npm i @ai-sdk/anthropic
Let’s make an actions folder and add a index.ts file for the Astro Actions.
mkdir src/actions
touch src/actions/index.ts
touch src/actions/chat.ts
Let’s edit both files like below.
This part was the hardest for me to figure out, especially how to get the Anthropic API key into the Astro Action. I kept on getting an error that I was missing the ANTHROPIC_API_KEY.
It turns out that the Astro Action handler also has the context passed in, so we can use that to get the Anthropic API key.
// src/actions/chat.ts
import { createAnthropic } from "@ai-sdk/anthropic";
import { generateText } from "ai";
import { defineAction } from "astro:actions";
import { z } from "zod";

export const chat = {
  generateText: defineAction({
    input: z.object({
      prompt: z.string(),
    }),
    handler: async (input, context) => {
      try {
        const anthropic = createAnthropic({
          apiKey: context.locals.runtime.env.ANTHROPIC_API_KEY,
        });

        const { text } = await generateText({
          model: anthropic("claude-3-haiku-20240307"),
          prompt: input.prompt,
          maxTokens: 128,
          temperature: 1.0,
        });
        return { text };
      } catch (error) {
        console.error("Error generating text:", error);
        throw error;
      }
    },
  }),
};
This setup allows for easy adding of more actions in the future.
// src/actions/index.ts
import { chat } from "./chat";

export const actions = {
  chat,
};
Now I modified the React component so that the input has the same name as that defined in the zod schema in the Astro Action. I also added the handleSubmit function to send the request to the Astro Action.
// src/components/text-generator.tsx
import { Button } from "@/components/ui/button";
import {
  Card,
  CardContent,
  CardFooter,
  CardHeader,
  CardTitle,
} from "@/components/ui/card";
import { Input } from "@/components/ui/input";
import { Textarea } from "@/components/ui/textarea";
import { actions } from "astro:actions";
import { useState } from "react";

export function TextGenerator() {
  const [prompt, setPrompt] = useState("");
  const [generatedText, setGeneratedText] = useState("");
  const [isLoading, setIsLoading] = useState(false);
  const [error, setError] = useState("");

  const handleSubmit = async (e: React.FormEvent) => {
    e.preventDefault();
    setIsLoading(true);
    const { data, error } = await actions.chat.generateText({
      prompt,
    });
    if (error) {
      setError(error.message);
      return;
    }
    setGeneratedText(data.text);
    setIsLoading(false);
  };

  return (
    <Card className="w-full max-w-3xl mx-auto">
      <CardHeader>
        <CardTitle>Text Generator</CardTitle>
      </CardHeader>
      <CardContent>
        <form
          onSubmit={handleSubmit}
          className="space-y-4"
        >
          <div>
            <Input
              type="text"
              placeholder="Enter your prompt here"
              value={prompt}
              onChange={(e) => setPrompt(e.target.value)}
              className="w-full"
              name="prompt"
            />
          </div>
          <div>
            <Textarea
              placeholder="Generated text will appear here"
              value={generatedText}
              readOnly
              className="w-full h-32 bg-muted border-muted-foreground/20 cursor-not-allowed"
            />
          </div>
        </form>
      </CardContent>
      <CardFooter>
        <Button
          type="submit"
          onClick={handleSubmit}
          className="w-full"
          disabled={isLoading}
        >
          {isLoading ? "Generating..." : "Generate"}
        </Button>
      </CardFooter>
    </Card>
  );
}
Handling of Secrets and Environment Variables in Cloudflare
For generating text, you need an ANTHROPIC_API_KEY set in your environment variables. You can get this by signing up for the Anthropic/Claude API.
For setting your environment variables when developing locally with Cloudflare, you have to create a file called .dev.vars. This will hold secrets like your API keys.
touch .dev.vars
And add your ANTHROPIC_API_KEY to it.
ANTHROPIC_API_KEY=<your-api-key>
Further, you have to set the Secrets for your production build as well. You can do this through the dashboard, or the CLI:
npx wrangler pages secret put ANTHROPIC_API_KEY
and enter your API key when prompted.
Deploying and Running the App
Running the App Locally
Now that we have everything setup, the text generation should work locally.
npm run dev
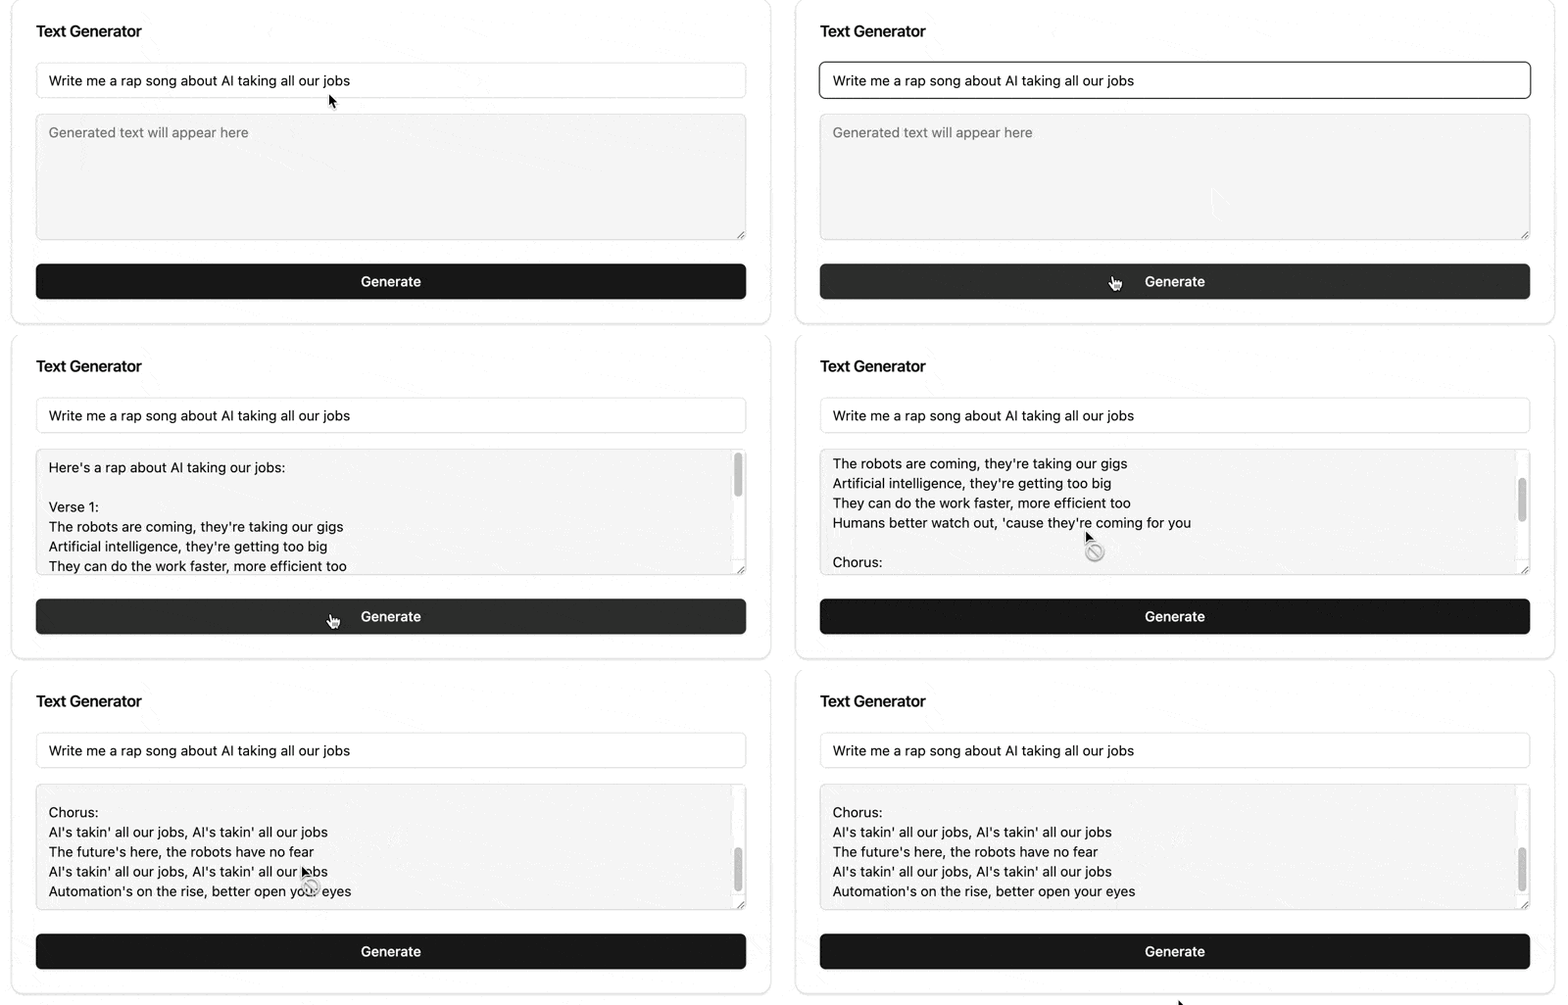
You should see something like this.

Running the App on Cloudflare
Now let’s deploy this to Cloudflare.
npm run deploy
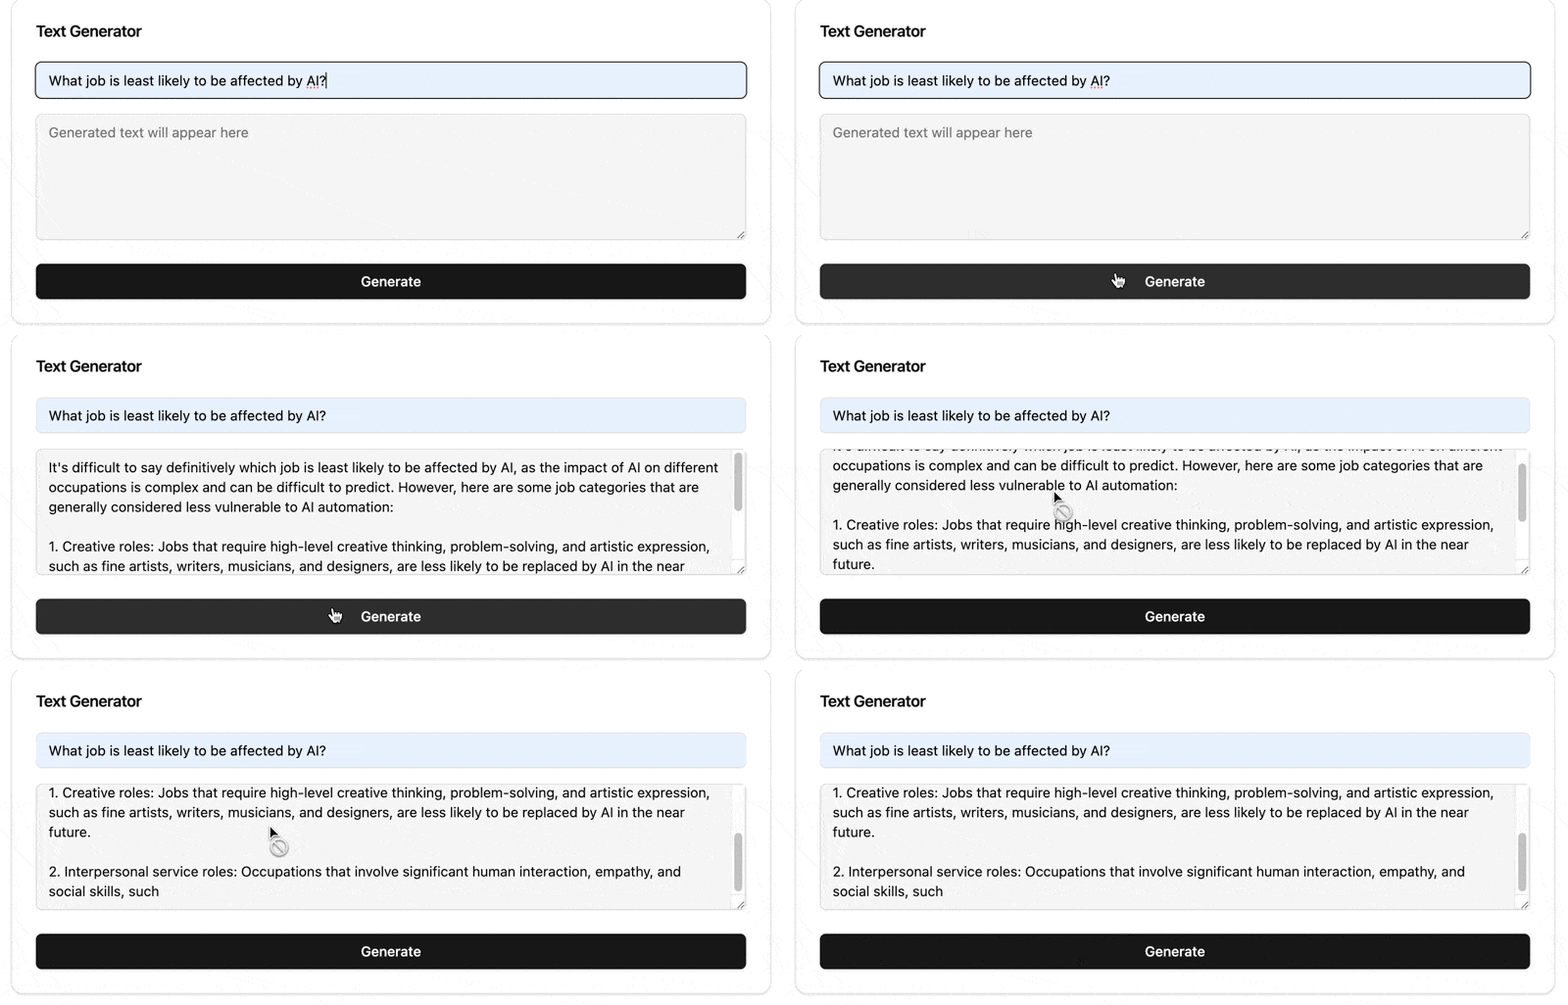
And you should see something like this.

There you have it! You can now run Astro Actions with environment variables on Cloudflare.
Follow me on X/Twitter for more articles like this!